December 6, 2010

Igloo – Impression Obsession

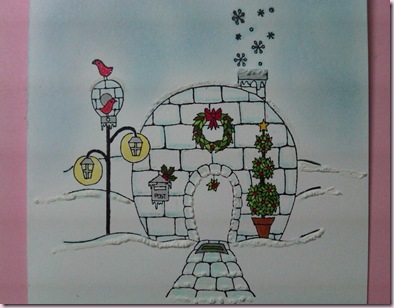
Lately, the cold weather here has really been an inspiration to do winter and Christmas cards. The card I am posting today uses a cute Igloo stamp from Impression Obsession. This stamp is unassuming but after the first time I worked with it, it quickly became one of my favorites. At first glance, I was excited about being able to use Liquid Appliqué for the snow but after stamping it I noticed all the cute little details and was even more excited about adding a little color with Copics.

Igloo

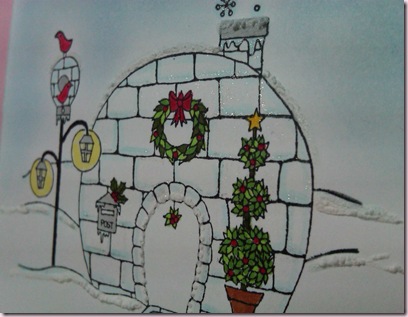
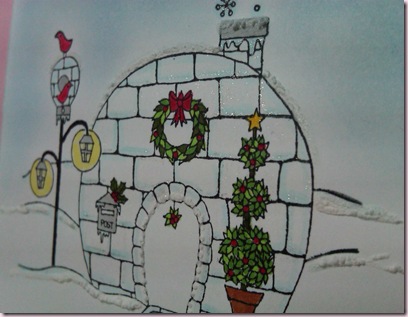
Below, you can see a little more of the detail of the Liquid Appliqué for the snow and sparkle that Spica Glitter pens add.

Igloo2

I stamped the image with Memento tuxedo black and used Copics for the coloring of the image. Believe it or not, but I used quite a few colors…more than you would think.

Copics for Impression Obsession Igloo

To add a little icy look, I used the Clear Spica Glitter pen and the B0000 Pale Celestine Copic. For the background, I used a combination of a pale blue and pale grey ink on a dauber to create a snowy looking sky. I dabbed the inked dauber on a scrap piece of paper to get most of the ink off it and then used a swirl motion to apply.

Igloo2

Hope you like the card for today. Let me know what you think.

December 2, 2010

Tall Trees – Impression Obsession

The holiday season always seems to sneak up on me and it seems to get worse the older I get.  With Christmas being right around the corner, I realized that I have quite a few things to get posted before they aren’t relevant any more.

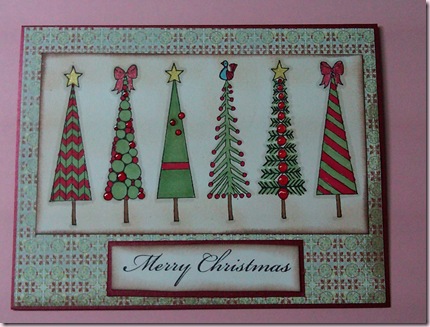
The first Christmas card that I decided to post is one that Melanie created. Once again, she and I both have this stamp. Actually, I sold her on this stamp by pointing out the little bird on top of the 4th tree. She just LOVES bird.

Take a look at her work of art…….

Tall Trees


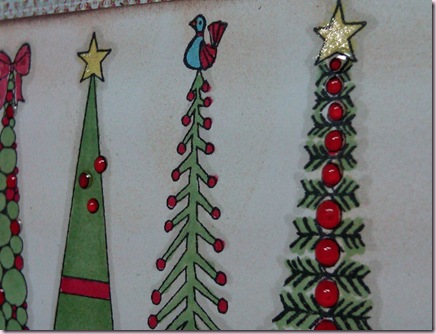
Melanie created using Impression Obsession’s Tall Trees stamp. The card base is Memory Box Soiree paper. The ‘Merry Christmas’ sentiment stamp is from Impress and the paper that she used as a background is Memory Box’s Mistletoe 6 x 6 paper.

Upon a closer look, you can see that she used dimensional glaze to add a little texture. Copics were used to color the image and Spicas were used to add a little sparkle.

Tall Trees2 

Feel free to leave a comment and let Melanie know what you think. :)

November 23, 2010

SnowGlobe with a Twist – AMuse and Memory Box

A little while ago, I was pondering how I could use my snow globe stamp in an unexpected way. With Fall in the air and Thanksgiving coming up this week, I came up with the idea to use my snow globe stamp to make a Fall themed card.

Here is what I came up with…….

Happy Fall

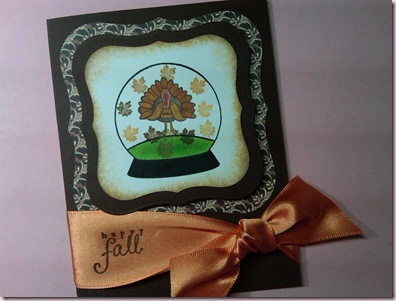
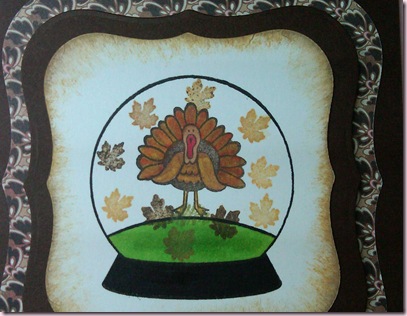
The Turkey stamp and Happy Fall sentiment stamp are by AMuse. The Snow globe and Leaf stamps are from Memory Box. I used Copics to color the images and I used Spellbinders to cut out and mat the image. The card base is Memory Box soiree paper.

Happy Fall2

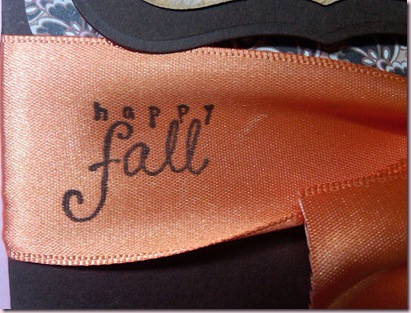
I was a little surprised at how well “Happy Fall” stamped on the ribbon. I used Memento Chocolate Brown and it worked really well.

Happy Fall3


Here is wishing you a safe and Happy Thanksgiving. :)

November 15, 2010

Snowball Fight – Impression Obsession

When I came across this stamp, my first thought was that I definitely didn’t need another snowman stamp; however, when I looked at the expressions of these snowmen, they reminded me of my 2 little dogs Harley and Levi.

Harley is a Malti-Poo and Levi is a Maltese. Harley is the older of the two and is usually very well behaved. Levi on the other hand is the baby and is very mischievous. Levi can sometimes coax Harley into doing things that he knows he shouldn’t. When I catch Levi and Harley misbehaving, Harley is usually looking back at me with an expression that says “Uh oh…”.  Levi on the other hand looks back at me with this guilty look and then immediately tries to look as cute and innocent as he can hoping he can play it off.

The scenario I just described to you is exactly what I saw when I looked at this stamp.  :) To me, Harley is the snowman in the back and Levi is the little snowguy in the front.

Snowball Fight1

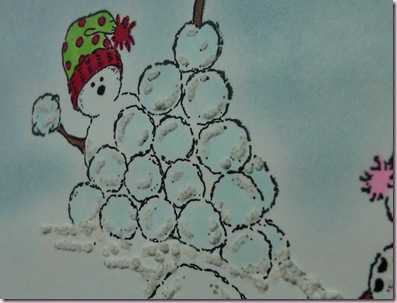
I used Copics to color the snow and their hat and ear muffs. The frame is from Spellbinders. To create the background and edging around the frame, I used a little ink on a dauber. I lightly tapped the dauber on the ink pad, then rub most of the ink off on scratch paper. Once most of the ink was gone, I then lightly blended the background and edge until I got the color I wanted. To create dimension in the snow, I used a Liquid Appliqué pen in white.

Snowball Fight2

I had a lot of fun with this card and best of all, it was quick. This time of year, I am always interested in cards that I can be produced quickly.  :)

October 11, 2010

Halloween 2010 by Impression Obsession

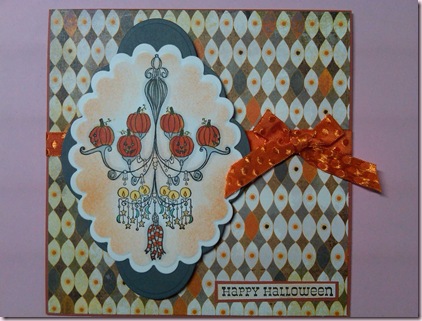
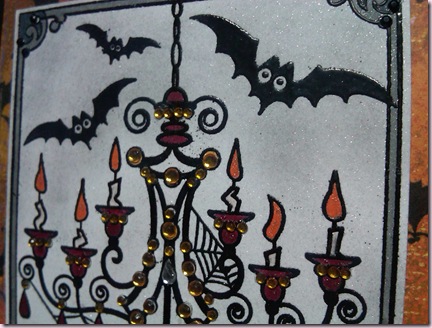
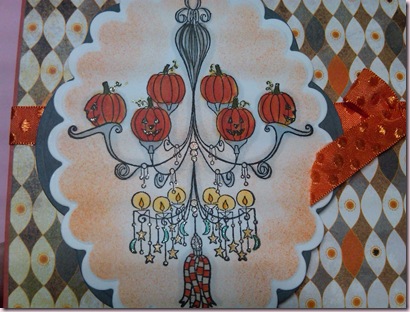
I have been a long time fan of Impression Obsession. It seems their stamps keep getting better and better. Here are 3 images from Impression Obsession’s Halloween Release. First, we have the Jack Chandelier. It is such a cute and fun little stamp. Melanie and I both have this stamp, but she got around to making a card with it before I did. Now I’m under the pressure to come up with something that measures up these cute little treasures.

Halloween Chandelier1

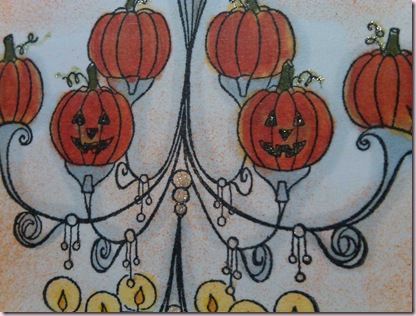
She used Copics to color the image and Nestabilities to cut out the image. She added Spica glitter pens to add just the right amount of sparkle. The paper is Basic Grey.

Halloween Chandelier2


Halloween Chandelier3

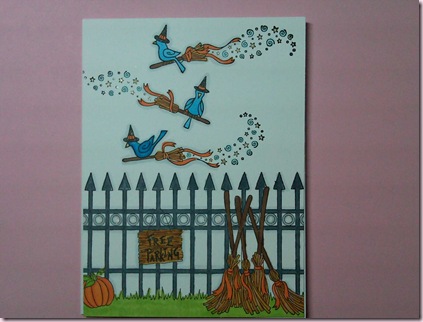
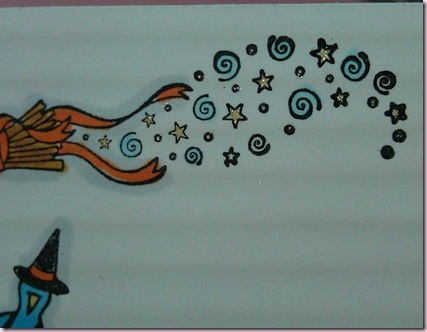
Next, is Birds on a Broome and Free Parking. The Birds on a Broome stamp is one that Melanie fell in love with. This is actually one that she chose to buy and I did not. We both have the Free Parking stamp but now after seeing how she combined it with the Birds on a Broome, I’m kind of wishing I had gotten it.

Birds on a Broome No Parking 

Birds on a Broome No Parking2


Birds on a Broome No Parking3

Melanie colored the images with Copics and used Spica’s to add a little sparkle.

September 22, 2010

Spooky Chandelier by Outlines Rubber Stamps

You can feel a change coming in the air. That change is Fall and with Fall comes Halloween. It is just around the corner. I look at Halloween as a fun time of year and focus on the innocence of children dressing up in cute costumes and collecting candy rather than view it as an evil time of year.  I enjoy greeting children trick or treating and seeing the excitement in their eyes. This stamp is a good example of how I look at Halloween. It’s spooky in a cute and fun sort of way.

The image is called Spooky Chandelier and it is made by Outlines Rubber Stamps. The name of the company symbolizes what most, if not all, their stamps are like……outline….which means there is lots of open space to color. If you don’t like to color, then these stamps may not be for you. Since this is a chandelier there is not that much to color. Actually, applying the jewels took the longest. I embossed the entire image. I don’t usually recommend embossing your image if you use Copics because the alcohol in the Copic marker will eat away at the embossing. In this case, there was such a small amount to color, it worked out ok.

The Copics used were:

YR16 – Apricot

R39 – Garnet

C7 – Cool Gray N0.7

T4 – Toner Gray No.4

Spooky Chandelier2

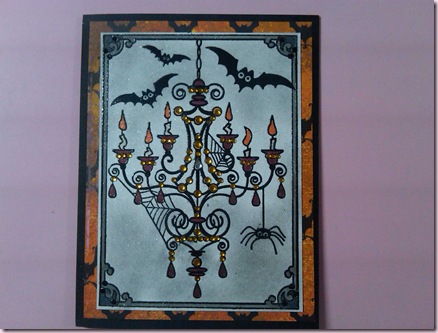
The jewel stickers are from Memory Box.  For the background shading, I applied a combination of gray and black chalk using a sponge. I then spritzed the entire area with Psst Shimmer Spritz by Tsukineko. Lastly, I matted the stamped image with Basic Grey bat patterened paper to add a little more color. The base of the card is Memory Box black Soiree paper. Below are some close ups to show the detail.

Spooky Chandelier1

Spooky Chandelier3

Leave a comment and let me know what you think. :)
September 21, 2010

Pink Poodle + Chandeliers = Tres Chic

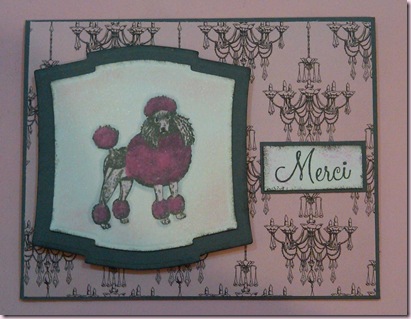
There are a some things that I love and have a hard time resisting. You can tell what 3 of those things are just by looking at this blog……cute little Poodles, the color Pink and Eiffel Towers. Something else I love are chandeliers. Melanie managed to pull all those things together to make yet another fabulous card. I was with Mel when she bought this stamp and it was one of those stamps that I liked but didn’t feel like I had to have it but now that I have seen her card….I want it!

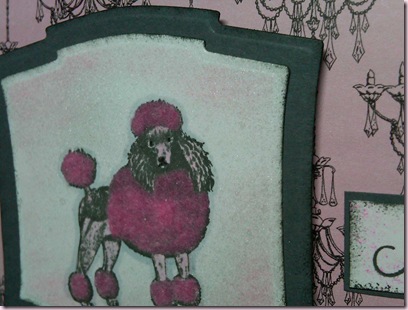
The poodle image is from PSX Stamps and the Merci stamp is from AMuse. Melanie stamped the poodle in grey Stazon ink and then flocked him with Martha Stewart pink flocking. She used Copics to color the poodle and then used a black Spica Glitter pen to accent the eyes and nose. The background was sprayed with Psst Sparkle Mist by Tsukineko to add a slight shimmer. Melanie then used Nestabilities Labels 2  to cut the poodle out and to mat it.

Viola!

Poodle Close Up4

Poodle Close Up3

Poodle Close Up

September 14, 2010

Good Friends – Good Times…Improved? You Decide.

A couple of weeks ago, I posted a card by Melanie using a stamp image from My Favorite Things. Well, it turns out that Melanie was not quite satisfied with her work so she went back to her craft room and began re-working the card. Here is what she came back with……


My Fav Things1

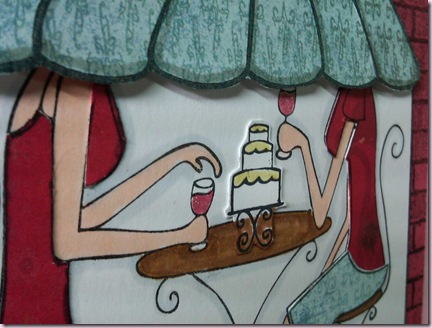
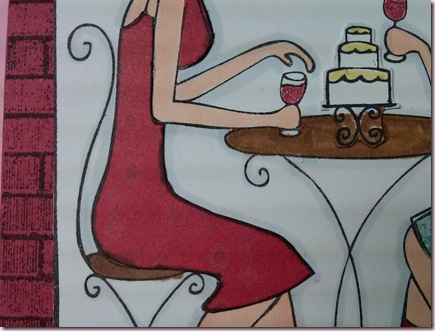
This time around she made the card base look like the cafe itself. It looks as though we are peaking in on these girls while they have lunch.  The Brick background stamp is from Cornish Heritage, which unfortunately is yet another stamp company that has gone out of business.

My Fav Things3

The girls clothing was achieved by stamping the image on patterned paper then cutting out the clothing and adhering it to the same image that was stamped on the white cardstock. The cake was done in the same manner.  To further add a dimensional effect, the awning was cut out and scored, then adhered to the card using pop dots.

By the way, Melanie loves pop dots. She uses them on everything! I gave her the nickname of PDQ (Pop Dot Queen) for for using so many pop dots on cards. Ha!

My Fav Things2

So there you have it. Two different versions of the same card. Is this version an improvement? You decide.

August 30, 2010

My Favorite Things – Good Friends Good Times

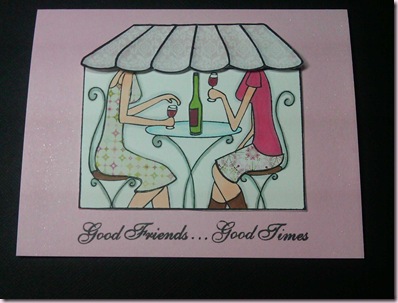
Here is a card made by Melanie where we added a little shimmer by using the Shimmer Spritz by Tsukineko. The stamps are by My Favorite Things, cardstock and patterned paper are from Memory box.  Melanie made the girl’s outfits by stamping them on pattern paper and then cutting them out.

IMG00134-20100829-1833

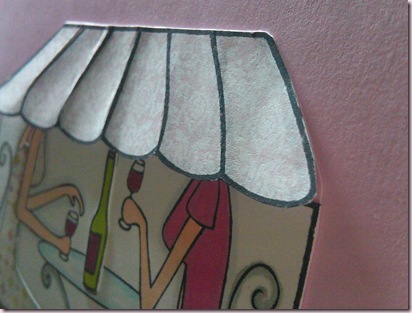
The awning was done in the same manner then scored to give it a 3D effect.

IMG00136-20100829-1834

The Shimmer Spritz was applied to the card base and awning by spraying it on a dauber and then lightly brushed on the card.

IMG00137-20100829-1835

IMG00143-20100829-1837

August 29, 2010

Tim Holtz - RockStar

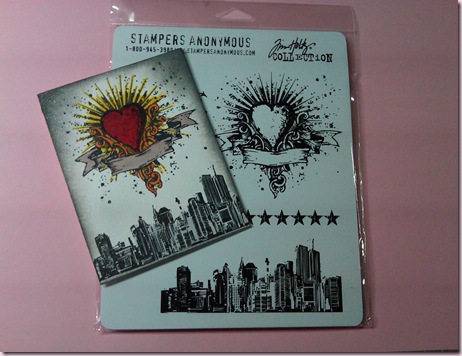
Any one in this hobby knows that we all go thru many phases of obsessions. Well, my latest obsession is Tim Holtz. I love his stamps. I have started getting into his stamp line more and more lately and love the grungy look of his stamps. They add great texture to cards. I created this card using the RockStar set. This is set is one of my favorites.

RockStar1

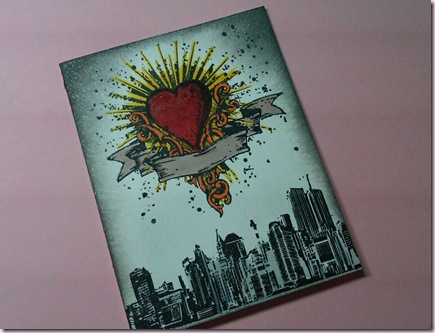
I used several different Copics for the coloring. The Cool Gray colors were used on the Skyline stamp along with a Silver Spica Glitter pen. The other colors were used on the Tattoo Heart along with the yellow and orange Spica Glitter Pens.

IMG00118-20100828-2356

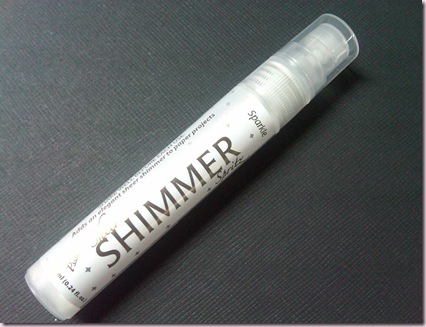
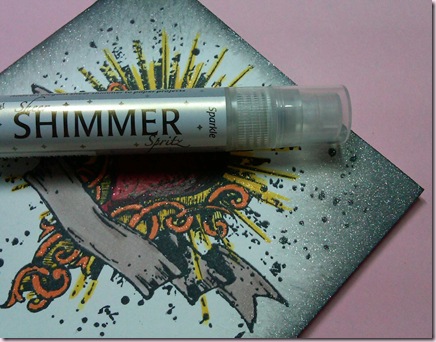
I used something new from Tsukineko to add the shimmer. It is actually called Shimmer Spritz and it comes packaged in twos. I used the Sparkle color around the edges of the card along with Memento Tuxedo Black, Memento London Fog and Color Box Chestnut Roan Inks. I mixed them all by applying all the colors to a sponge and then spraying the sponge with the Shimmer Spritz before applying to the edges. It was easy to use, sprayed in a nice fine mist, and added just the right amount of shine.  Below is an up close picture of the edging on the card.

IMG00127-20100829-0000

Below is the finished product.

IMG00125-20100828-2359

July 15, 2010

Pink Chrysanthemum - Flowers whisper what words can not say

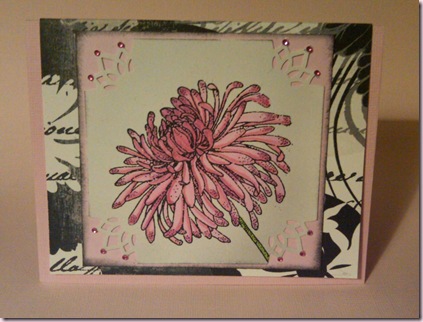
I love flowers and flowers that are pink are even better. This Chrysanthemum stamp is a custom made stamp. When I saw it, I knew it belonged in my collection.  :)This stamp is great for coloring with Copics and practicing shading with Copics. To add shading and sparkle, I used Spica Glitter pens.  The card base is Bazzill and pattern paper is from Basic Grey. The corner punch is from Martha Stewart and the jewels in the corners are from Memory Box.  The inside of the card is stamped with the AMuse Sentiment ‘Flowers whisper what words can not say’.


Chrysanthemum Card

Below is an up close picture to show shading and the sparkle of the Spica Glitter pen.

Chrysanthemum Card Detail

July 12, 2010

Daisy Trio - Impress Rubber Stamps

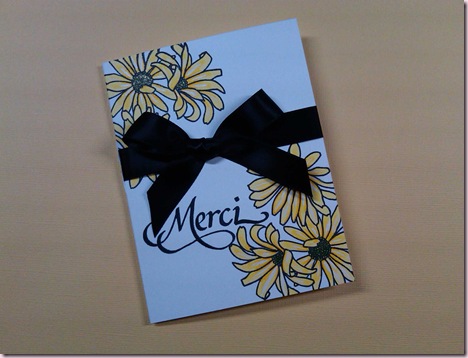
This Daisy Trio is another Impress Rubber stamp that I couldn’t resist. The simple nature of this card makes it fresh and clean. The ‘Merci’ sentiment is from PSX Stamps. I used Memento Tuxedo Black ink to stamp the images and the sentiment. To color the Daisies I used the following Copic colors and Spica Glitter Pen:

Y00 – Barium Yellow

Y02 – Canary Yellow

Y11 – Pale Yellow

Y13 – Lemon Yellow

YG05 – Salad

Opaque White

Spica Glitter Pen - Lemon


Daisy Trio

July 11, 2010

AMuse – Bursting Blooms

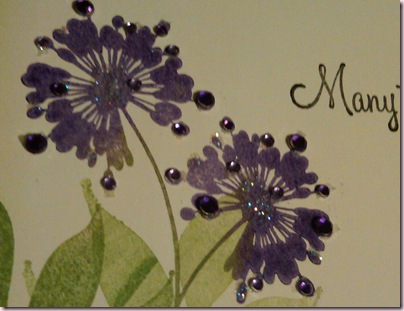
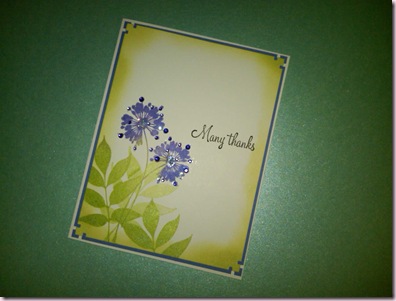
This is a beautiful card that was created using inspiration from Julie Ebersole. Melanie is a huge fan of Julie and loves to check out her newest creations. Melanie used the Bursting Blooms, Leaf Frond and Many Thanks Sentiment stamps from AMuse.  Jewels have been added to the flower stamp for a little sparkle.


Many Thanks


Many Thanks detail

AMuse - Black Magic Technique

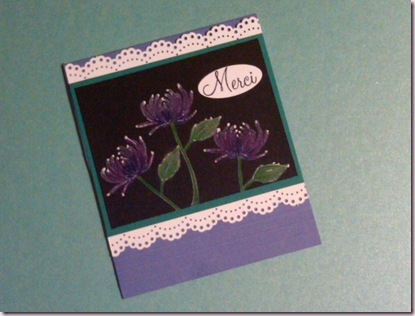
Black Magic is a technique that Melanie introduced me to which I found quite intriguing. She came across this technique on Splitcoast and decided to try it out using a silhouette stamp from AMuse. Black Magic is where you stamp a silhouette image on black cardstock using white ink. Then you color over the white inked image with color pencils leaving parts of the white ink showing to create highlights.  The floral stamp is AMuse’s Chrysanthemum Silhouette stamp.  The end result is quite interesting. I always love the way Melanie seeks out new and ingenious techniques. Check out her creation and let us know what you think.
Black Magic Merci

AMuse Everything’s Rosy - Rose and Vine

I am still on the kick of using white cardstock. The summer heat has influenced me to create cool, clean cards. This card was created using the Rose, Vine and the ‘Have a beautiful day’ sentiment are from  AMuse’s Everything’s Rosy Release. The white cardstock makes the colors really pop.  The great thing about silhouette stamps is you don’t have to color anything. Whenever I am lacking the time needed for making a card, I always reach for my silhouette stamps. I am able to create a fabulous card in half the time. :)
 

Rose Vine